
Stop! Don’t download that PDF converter app for iOS. You don’t need it. What if I told you iPhones have come with a built-in PDF-conversion tool since iOS 10?
Once you know where this iOS PDF converter is buried, you can quickly and easily turn anything into a handy PDF on your iPhone or iPad.
On the Mac, you’ve always been able to create a PDF just by printing a document, then picking the Save as PDF option from the drop-down menu in the resulting dialog.
Apple added this exact same trick to iOS 10, and it may be even easier to use than the Mac version. You can use it anywhere that a document can be printed. For instance, you can save a webpage to iBooks to read later, or to another PDF app to mark up and highlight.
You can even use it to save PDFs from the iOS Mail app, which doesn’t usually let you save or export anything. In fact, this trick is a handy way of getting around limitations in all those annoying apps that only offer print and email as export options.

You can quickly and easily merge multiple PNGs into a single PDF document with this user-friendly online tool. Try this 100% free PNG to PDF converter today.
This post is sponsored by PDF Candy.Ready to quickly create a PDF on your iPhone or iPad? Here’s how this feature works:
The beauty of this method is that it doesn’t require any third-party apps, and you don’t end up having to manage saved PDFs in several locations, like you would if using a dedicated PDF converter app.
It works anywhere you can print a document, even in the Photos app. (Yes, this is a quick way to convert a photo to a PDF and mail it, a great way to annoy all recipients.)
Best of all, it’s instant. Some of the other options seem to take forever to load a webpage and then convert it.
As always with Apple’s software, the simplicity of this converter obscures some powerful options. And as with much of Apple’s software, this extra functionality seems infuriatingly well-hidden.
Apple also gives you plenty of ways to work with PDFs on iPhones and iPads.

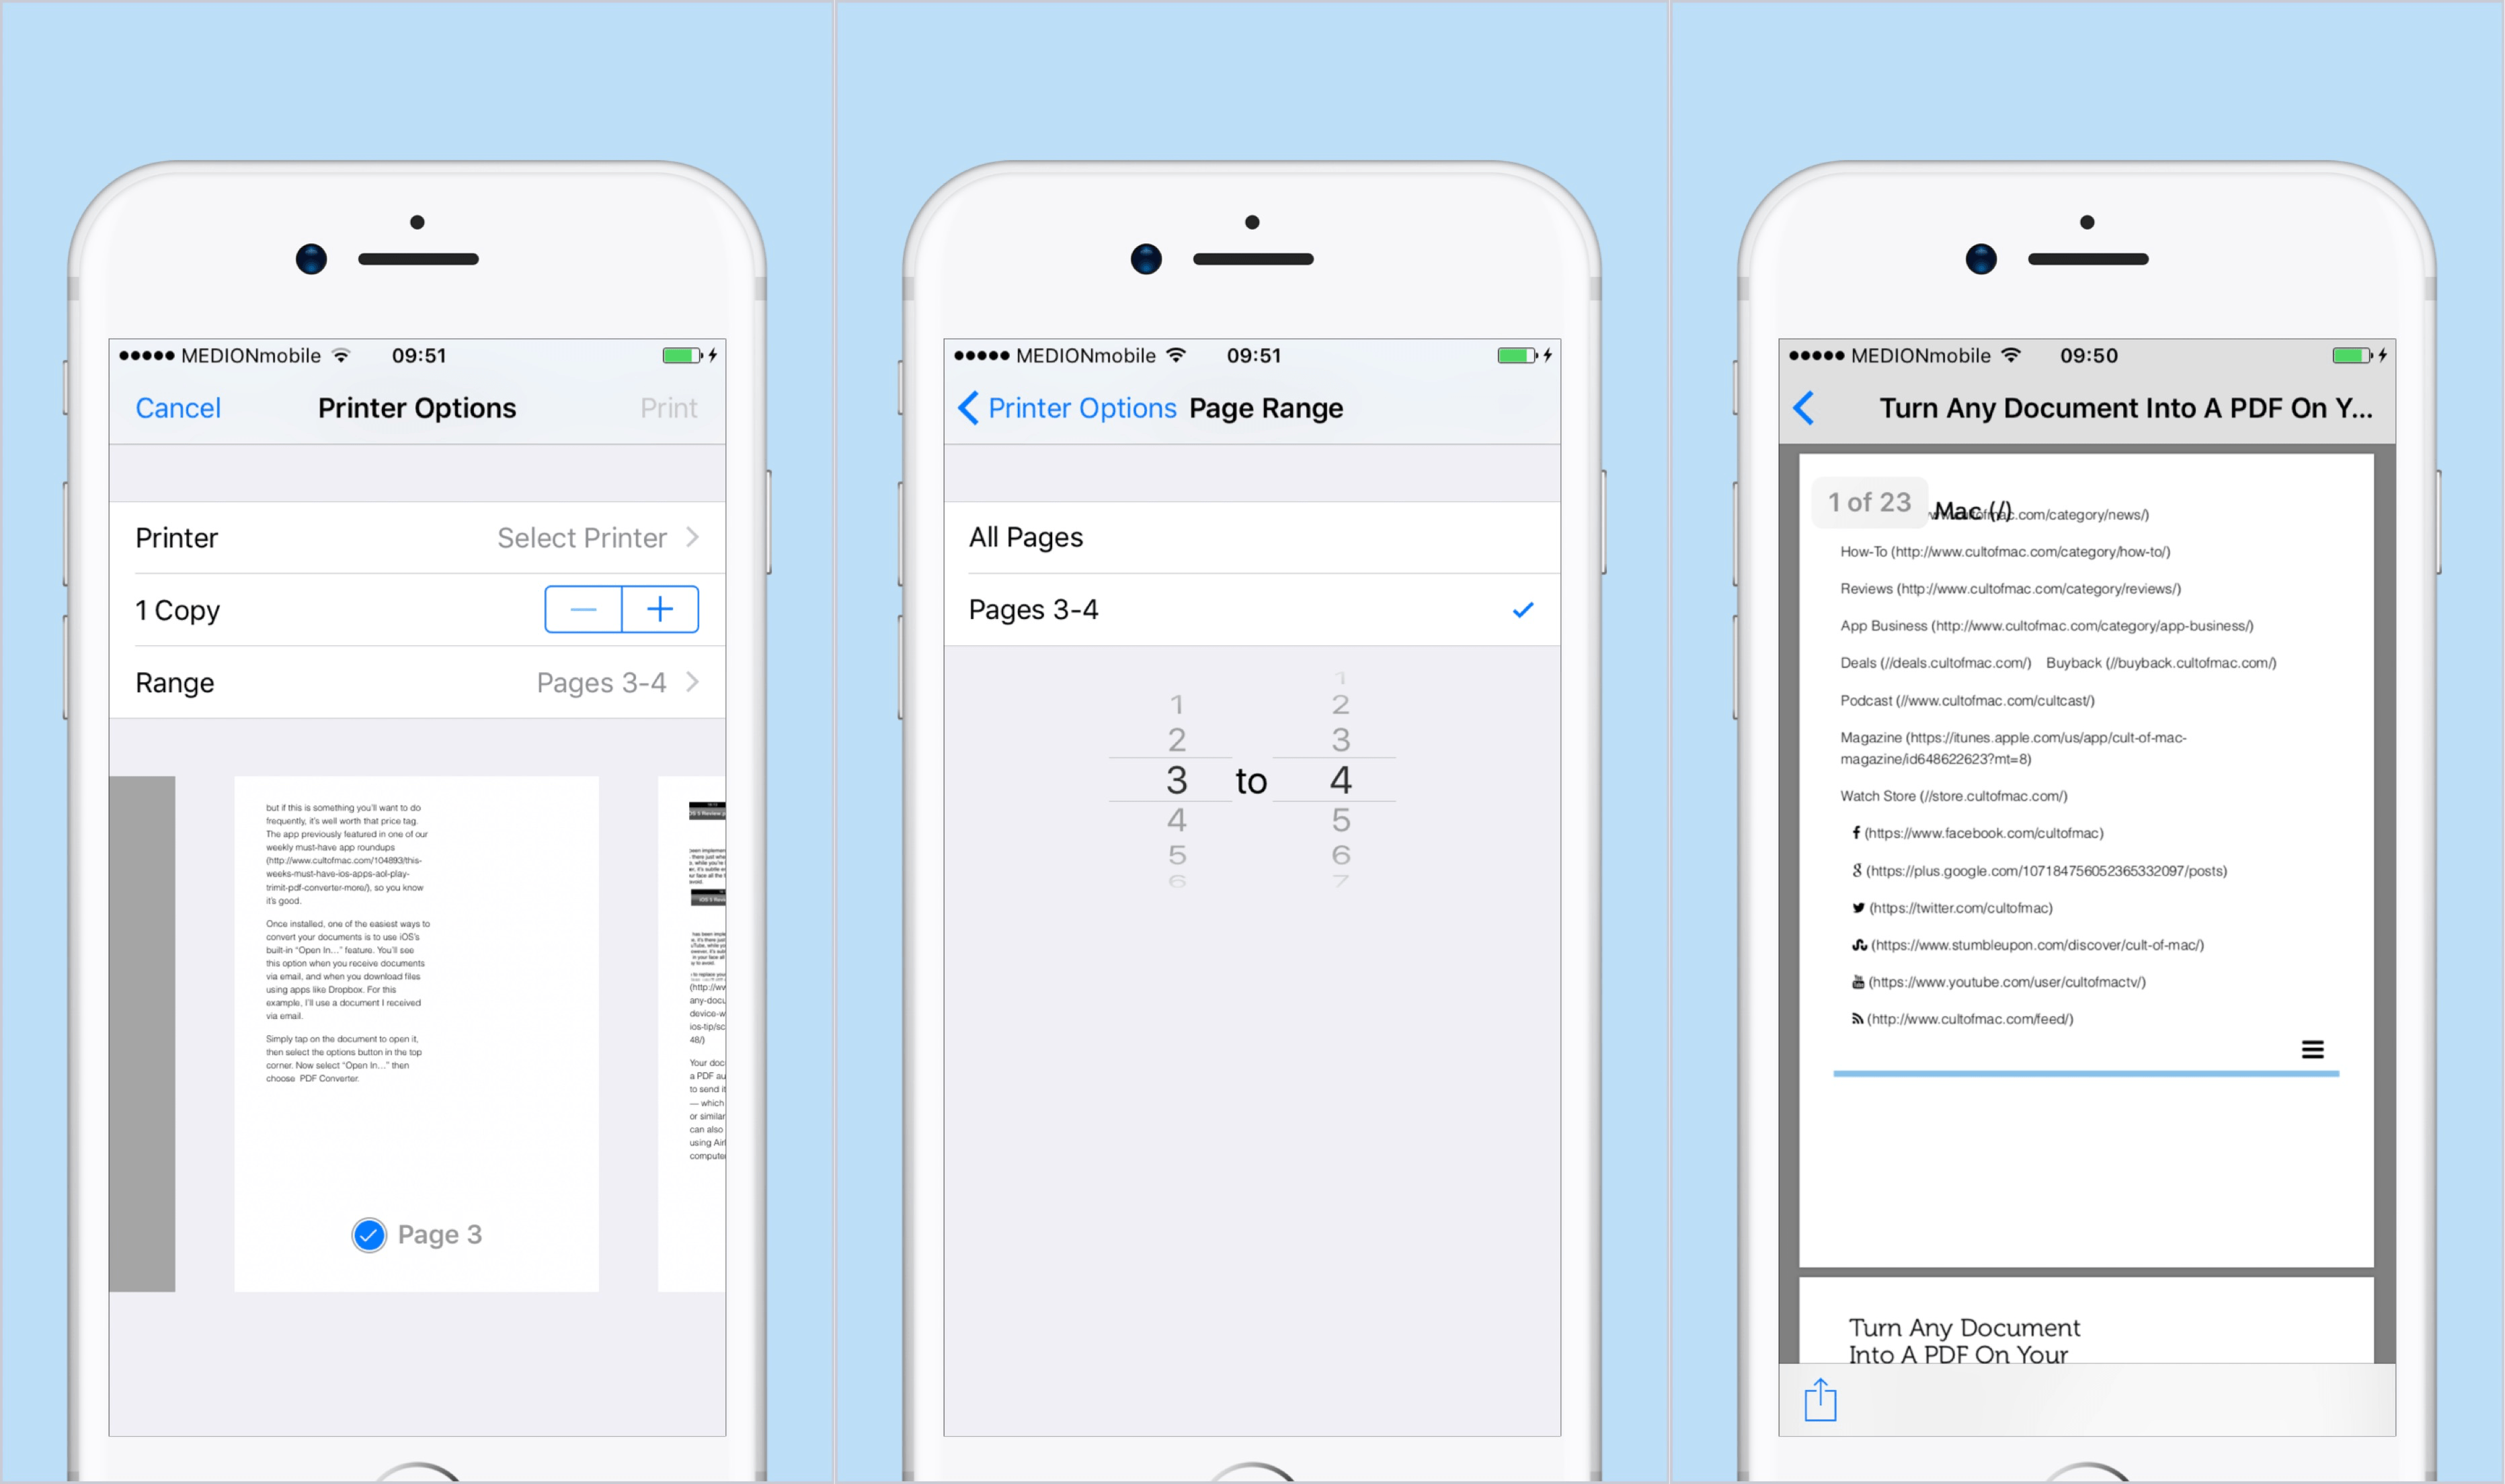
You don’t need to save all the pages of the document as a PDF. If a webpage includes a bunch of ads you don’t need, for example, you can narrow in on the parts that contain the content you do need. There are two ways to do this.
First, you can tap the Page Range button and use the wheels to set the range. That’s fine for quickly selecting a big chunk of pages, but there’s a better way: Just tap a little blue-and-white checkmark icon on each page you want to exclude and the checkmark disappears. To reselect a page, tap the checkmark icon again.

You may scoff at the printer view provided by many websites. After all, who prints webpages these days, right? But it can prove ideal for cleaning up messy pages. Tutorial sites often offer a printer view, as do recipe sites. Tapping the little printer icon can result in much cleaner PDFs.
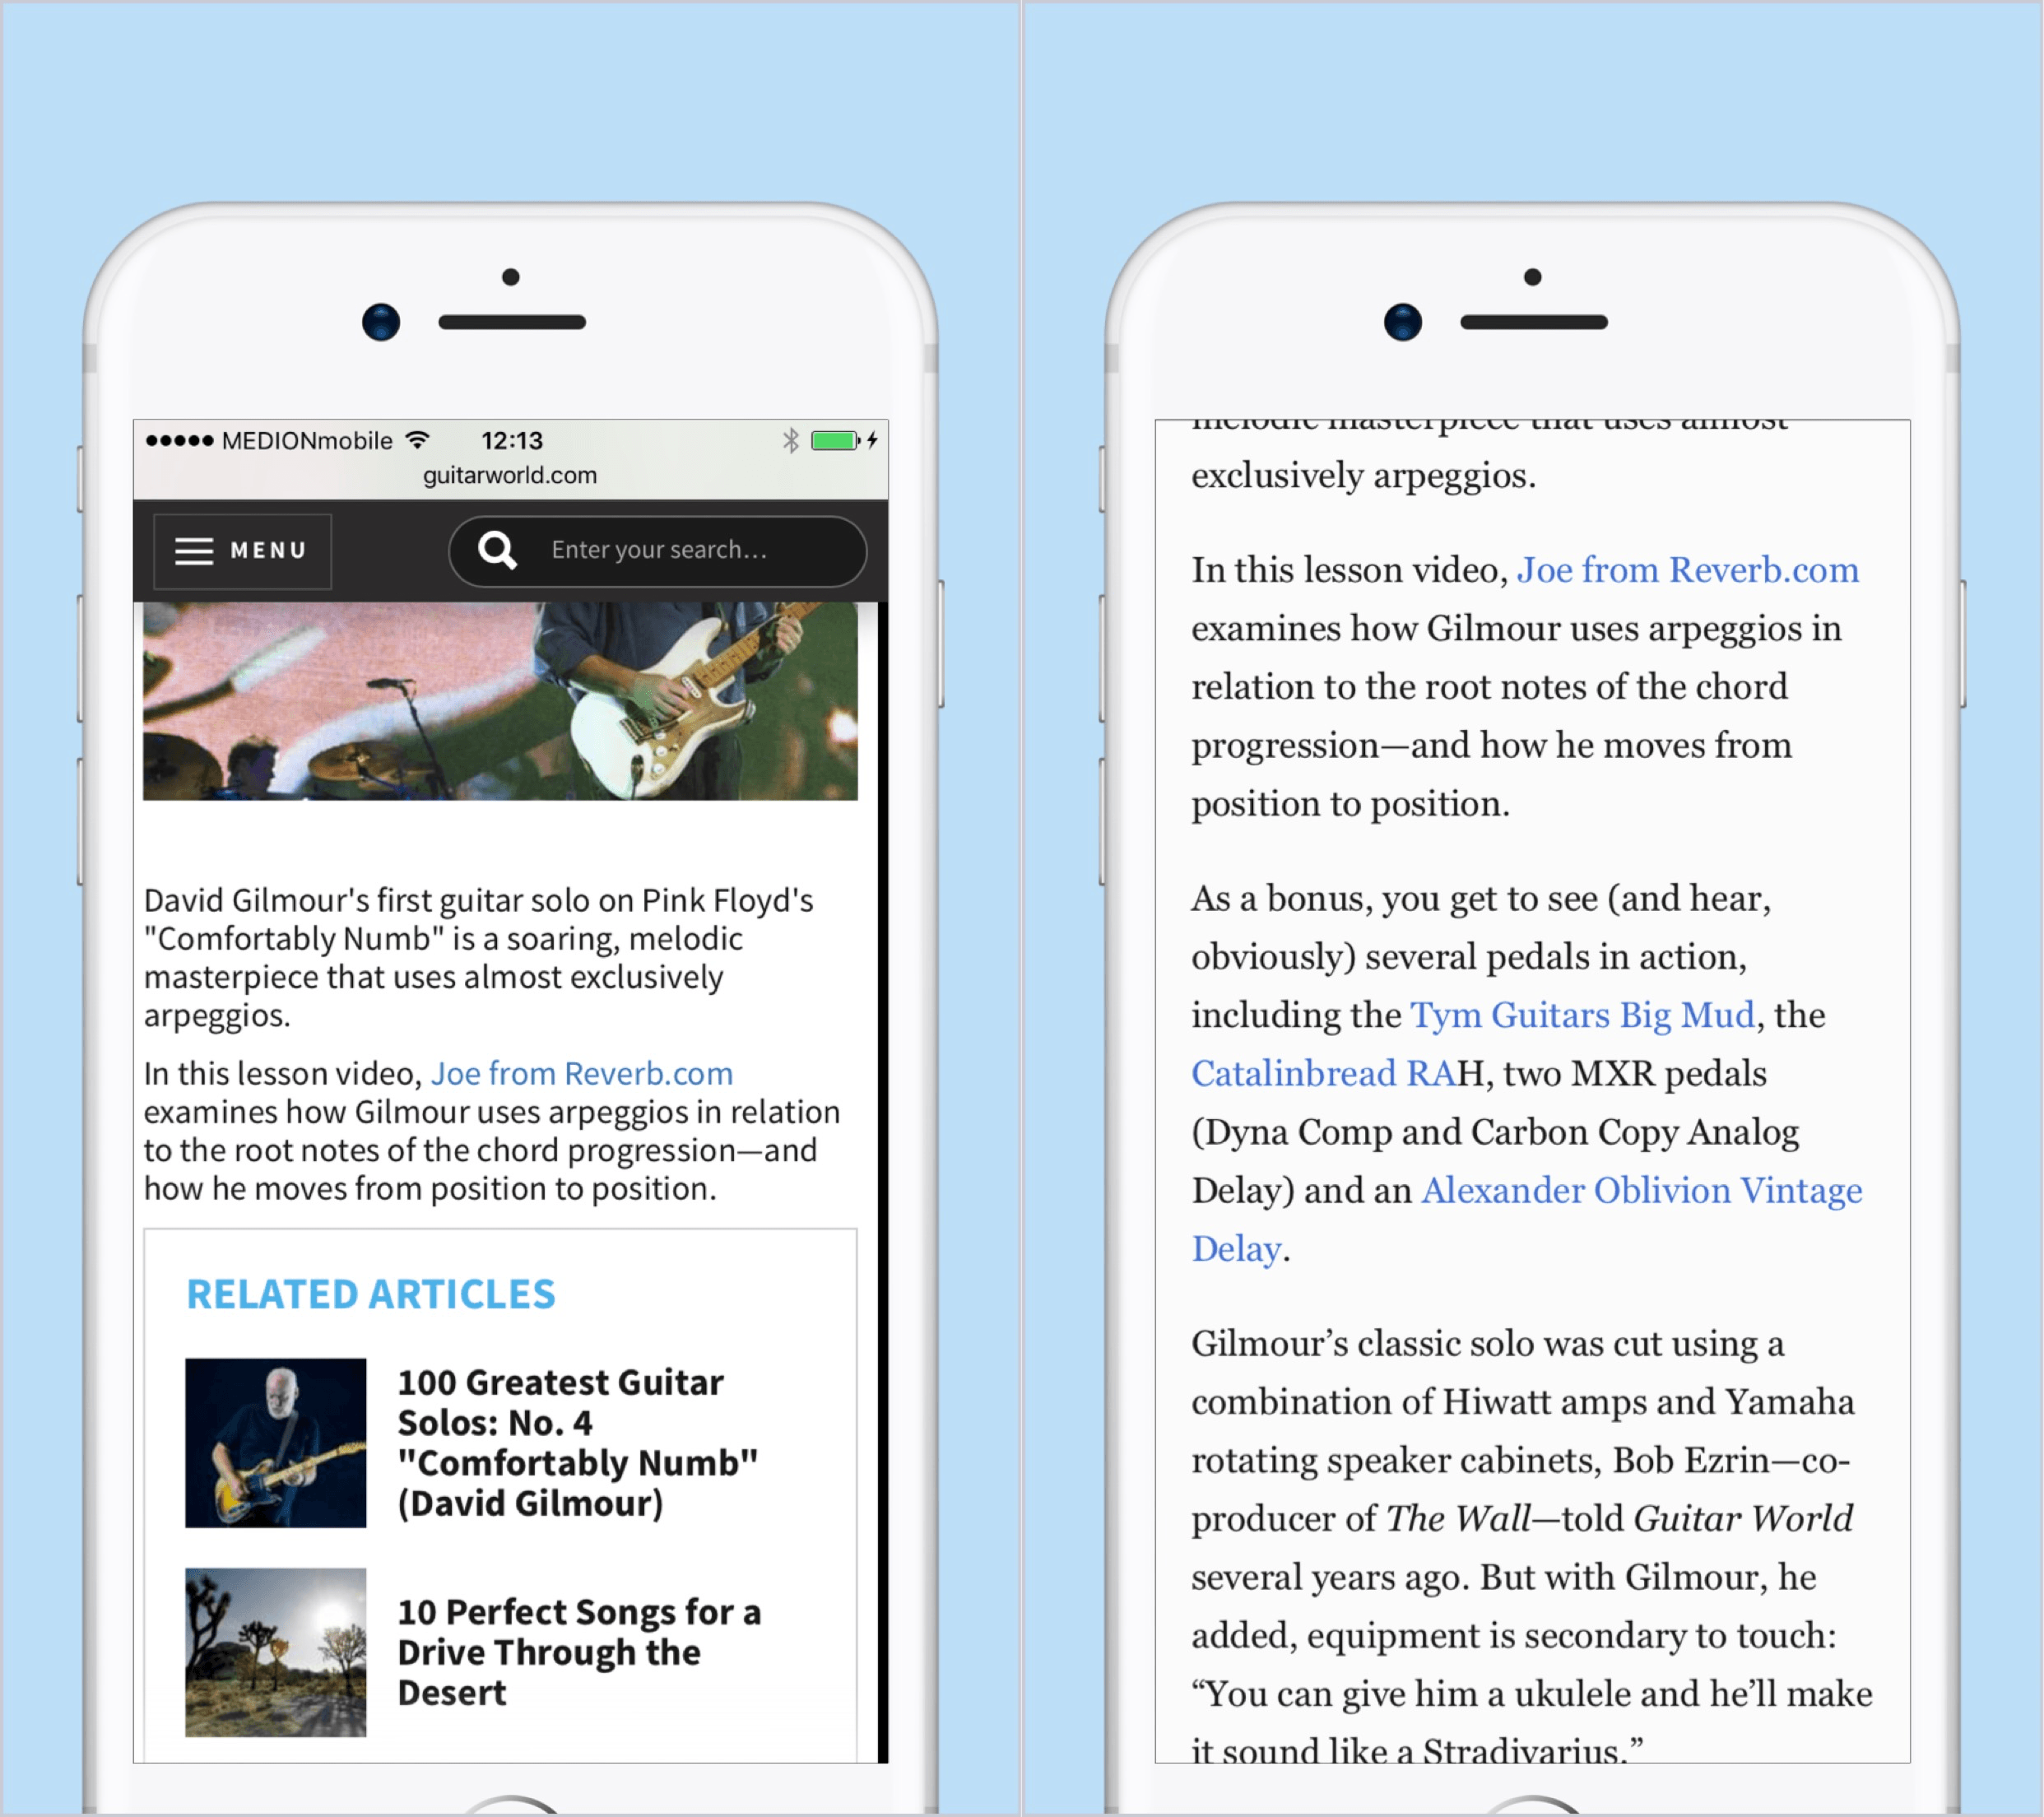
Even better is Safari’s Reader view. In fact, I’d say that this PDF tip, combined with Reader mode, is the iOS PDF printer’s secret weapon.
If you enter Reader view before printing to PDF, you eliminate everything but the article body and the images. Everything gets laid out nicely, with image captions under images, beautiful titles, and — best of all — no ads, no sharing widgets, nothing.
So there you have it. Now you can save anything, from photos to Word documents to webpages, as small, neat PDFs.

If you use iBooks to manage your PDFs, there’s an even quicker way to do this. Just pick the Save PDF to iBooks option instead of the Print option in the standard iOS Share Sheet.
The resulting PDF looks exactly the same, but you miss out on more-advanced features like excluding pages. Still, if all you want to do is save a bunch of quick PDFs, the method typically proves much faster than the print-to-PDF method.